DOLPHIN CMS USER GUIDE

Dolphin CMS
Documentation

Pointwise instructions for setting up your CMS and managing each area of your website.

DOCUMENTATION

Browse by module

Choose a module to jump to its own bullet point instructions.

Install And Configure Dolphin CMS

Prepare a web server and database, then run the setup wizard.
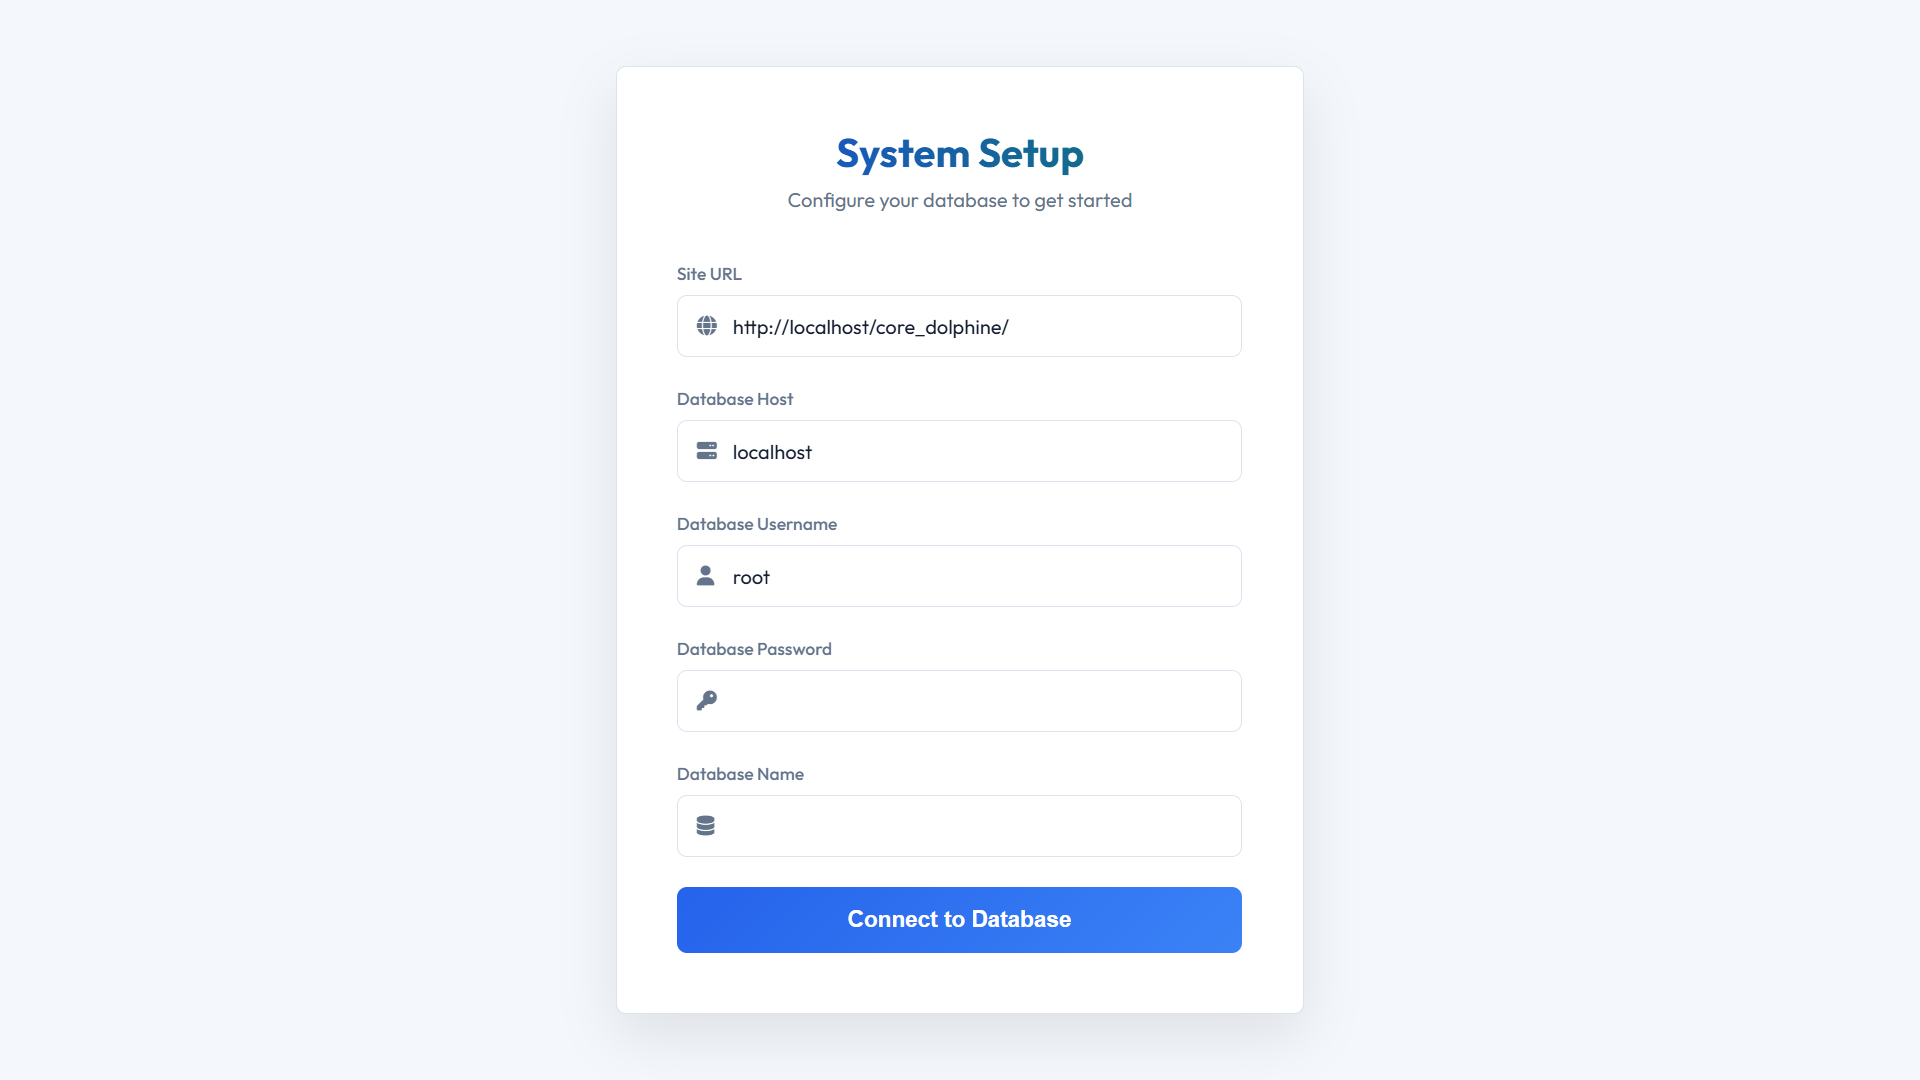
Dolphin CMS Install And Configure Dolphin CMS admin screen
Install And Configure Dolphin CMS in the admin panel
  • Start Apache and MySQL in XAMPP, or prepare a web server that supports PHP and MySQL.
  • Copy the CMS files into your web root, for example htdocs/core_dolphin.
  • Create a new, empty MySQL database in phpMyAdmin.
  • Open http://localhost/core_dolphin/mask/setup/ in your browser. Replace core_dolphin with your folder name.
  • Enter the site URL and database connection details, then use the connection test to confirm access.
  • Select the SQL file offered by the wizard and choose Import & Finish Setup.
  • Open the site and sign in to the admin panel with your administrator account.

The installer removes existing tables in the selected database before importing. Use a new, empty database or make a backup first.
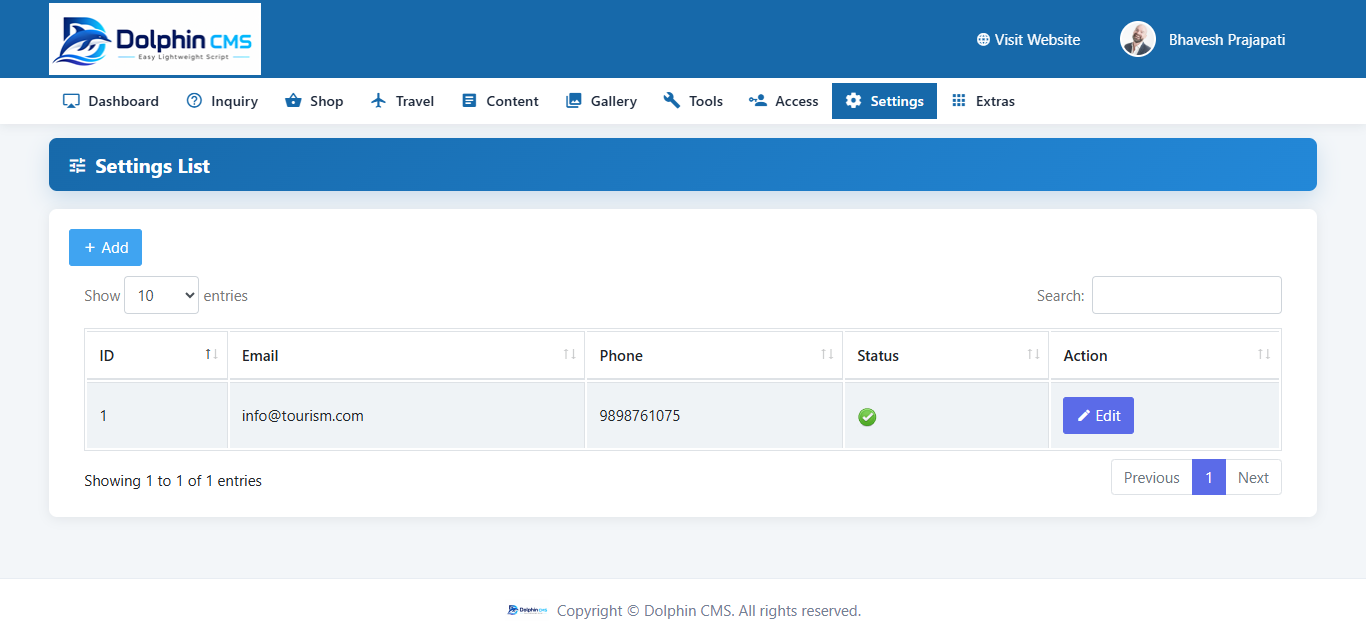
Business Settings

Manage your business identity and contact information.

  • Sign in to the admin panel and select Business Settings from the left-hand menu.
  • Choose Edit for the business record.
  • Update the business name, contact details, address, tax details, terms, or status.
  • Save the record and review the displayed business information.

Business Settings is separate from Settings > Configuration.

Languages

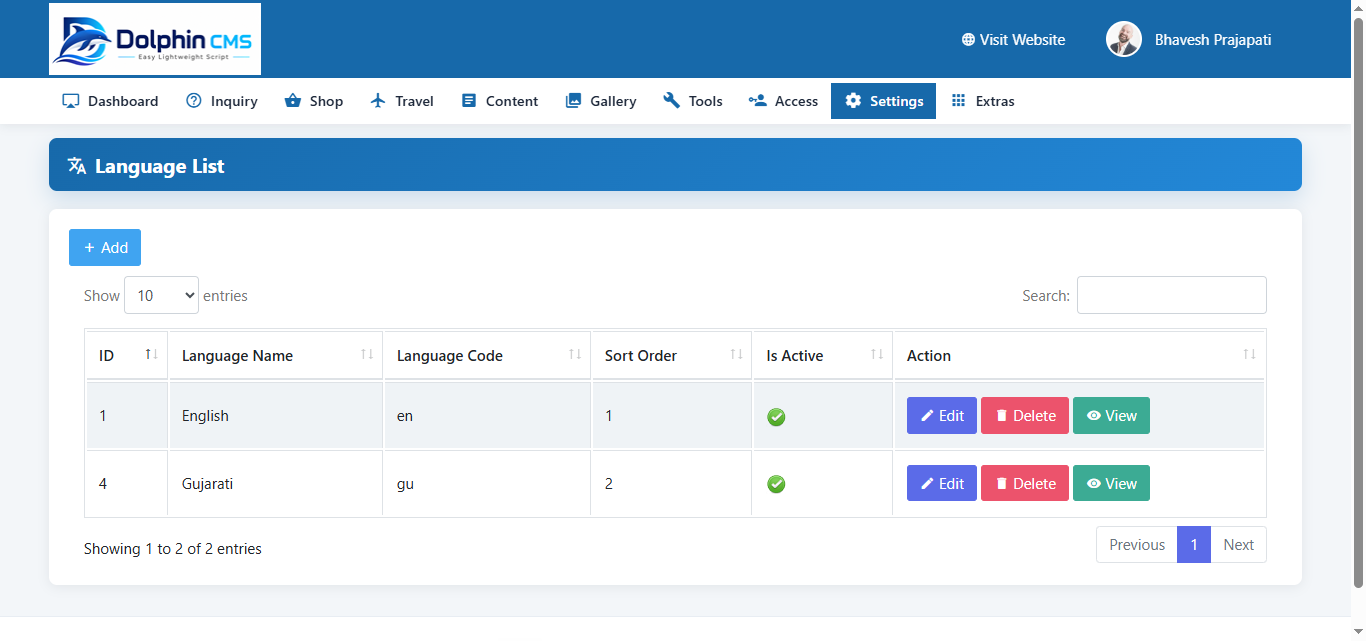
Add or update the languages used in content forms.

Dolphin CMS Languages admin screen
Languages in the admin panel
  • Open Settings > Language and choose Add.
  • Enter the language name, language code, and sort order.
  • Set the language to Active and save.
  • Complete each active language field when creating or editing content.
  • To hide a language from choices, edit it and set it to Inactive.

Deactivating a language does not translate or remove existing content.

Change Password

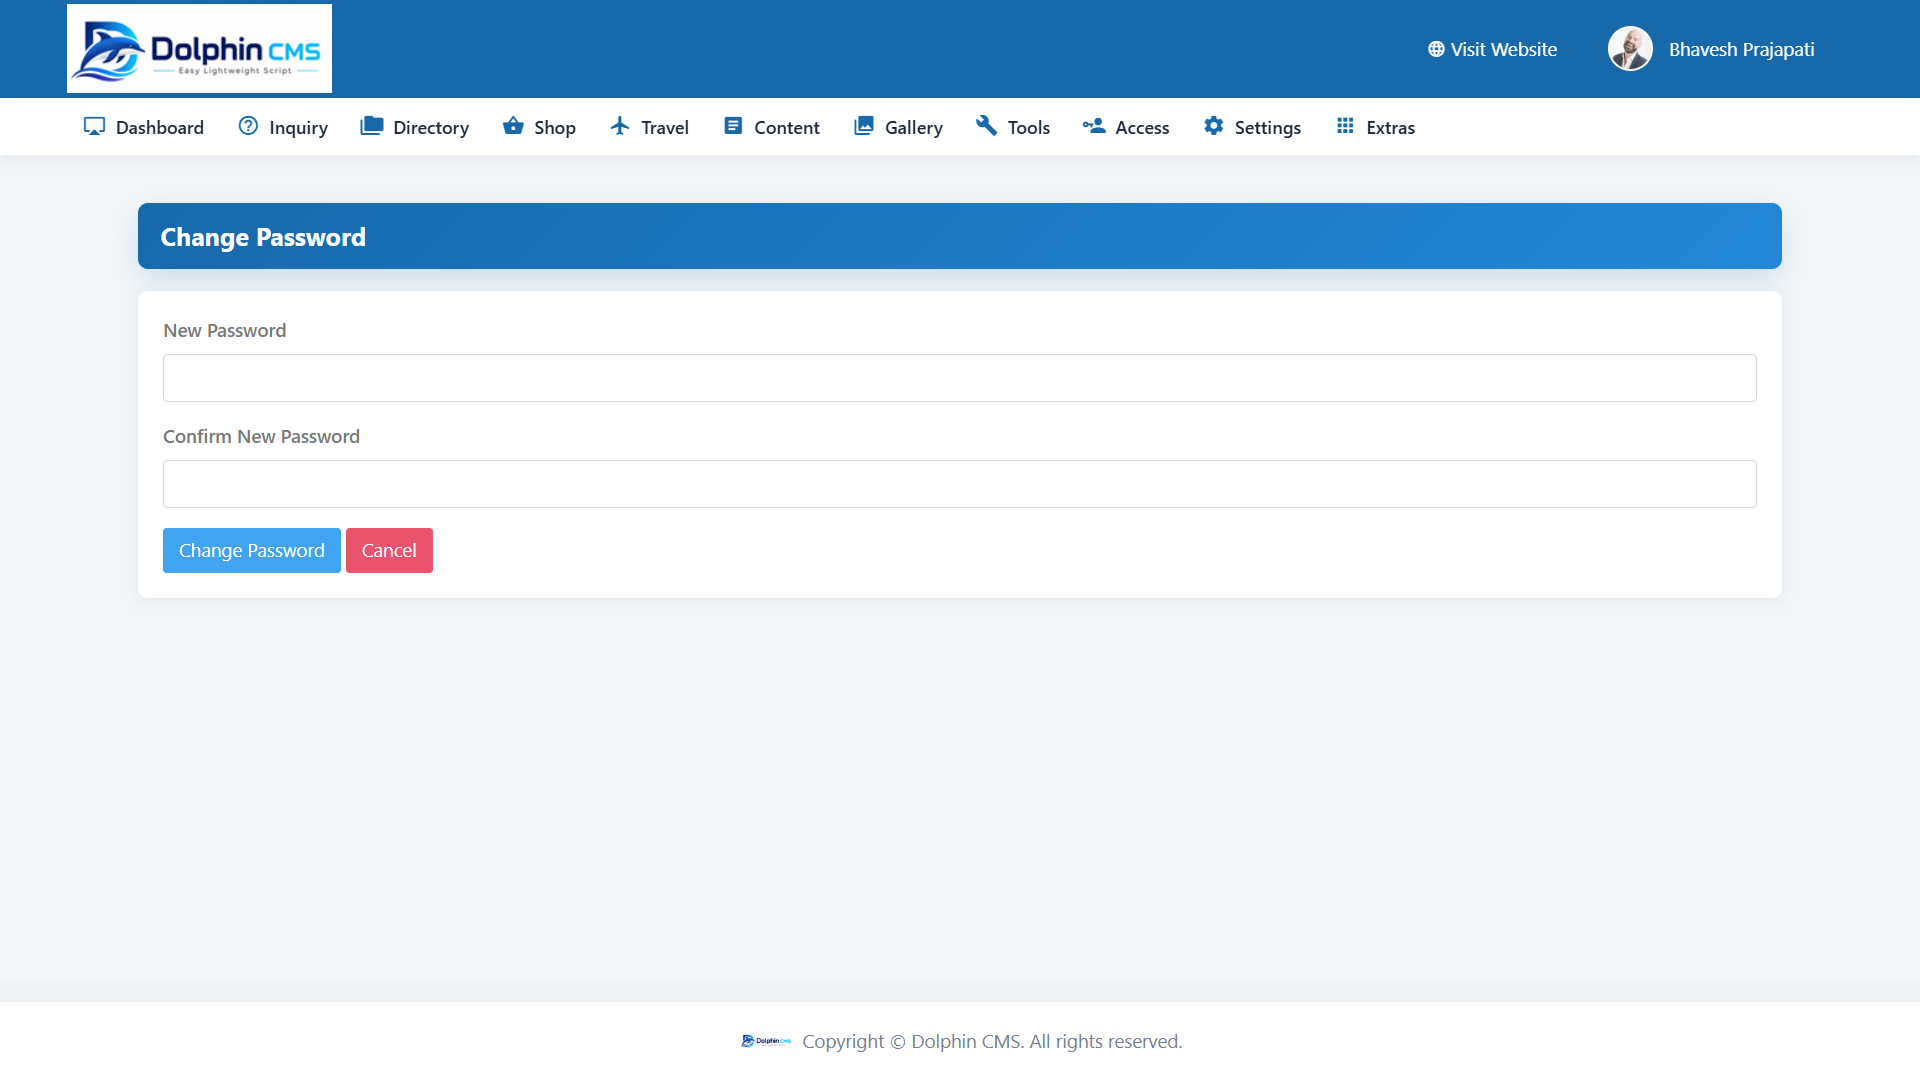
Set a new password for your administrator account.

Dolphin CMS Change Password admin screen
Change Password in the admin panel
  • Open the account menu at the top-right of the admin panel.
  • Choose Change Password.
  • Enter the new password and repeat it in Confirm New Password.
  • Submit the form to save the new password.

Admin Profile

Update the contact details on your own administrator profile.

Dolphin CMS Admin Profile admin screen
Admin Profile in the admin panel
  • Open the account menu at the top-right of the admin panel.
  • Choose Edit Profile.
  • Update your name, photo, email, mobile, or address.
  • Choose Save and confirm the profile details.

Website Configuration

Update site-wide identity and appearance settings.

Dolphin CMS Website Configuration admin screen
Website Configuration in the admin panel
  • Open Settings > Configuration.
  • Update the relevant site options, such as the website logo, favicon, or theme color.
  • For an image field, select the new file and wait for the upload preview.
  • Save the settings and refresh the public site to review the change.

The website logo and business logo are managed in different screens.

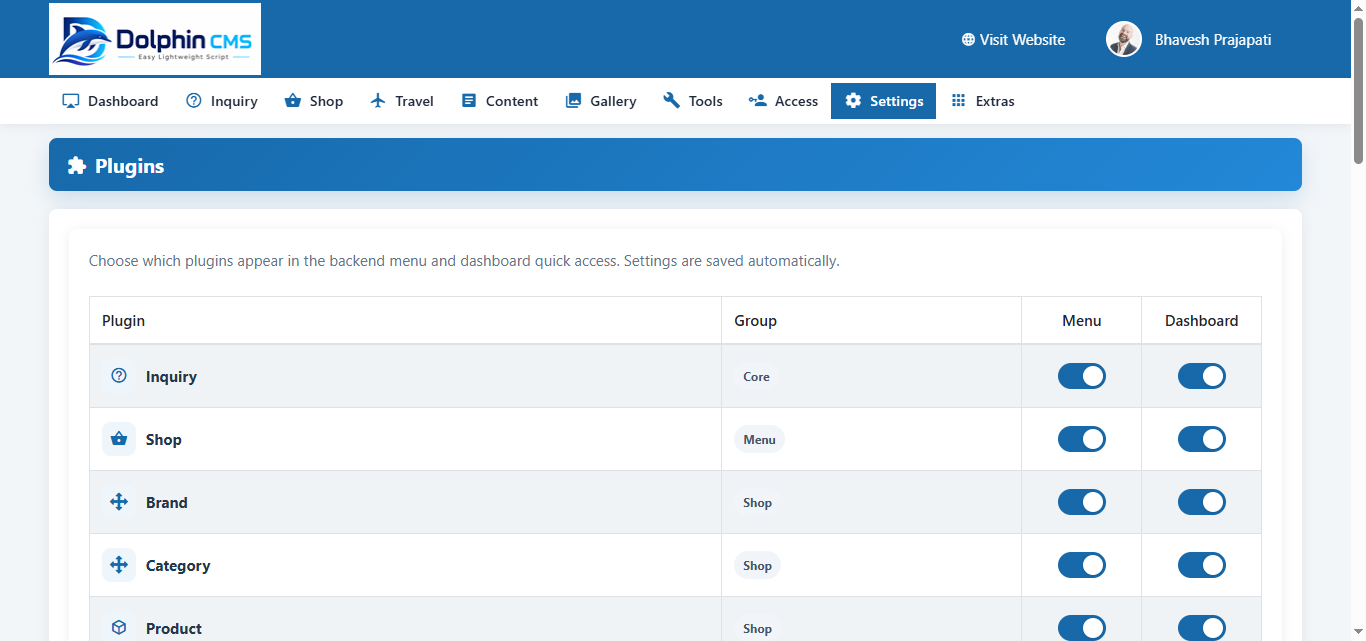
Plugins

Control whether modules appear in the admin navigation and dashboard.

Dolphin CMS Plugins admin screen
Plugins in the admin panel
  • Open Settings > Plugins.
  • Find the module whose visibility you want to change.
  • Use its switch to show or hide it in the admin sidebar and dashboard.
  • Review the admin panel to confirm the navigation reflects the setting.

These switches control visibility. They do not install or uninstall plugins or disable the module itself.

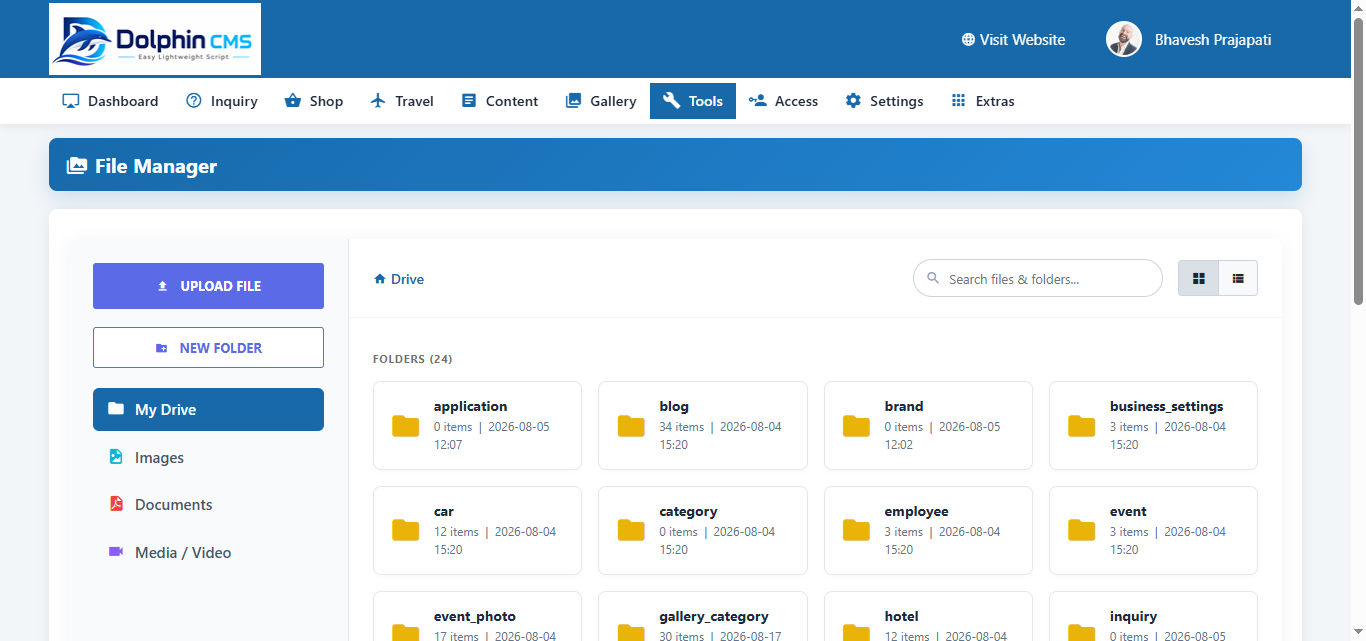
File Manager

Upload files and organize them into folders.

Dolphin CMS File Manager admin screen
File Manager in the admin panel
  • Open Tools > File Manager.
  • Browse to the target folder under uploads.
  • Use the upload control to select one or more supported files.
  • Wait for the success message and confirm the files appear in the folder.
  • To organize files, browse to the parent folder, enter a name in Create Folder, and submit.

Admin Calendar

Create and maintain calendar appointments in the admin panel.

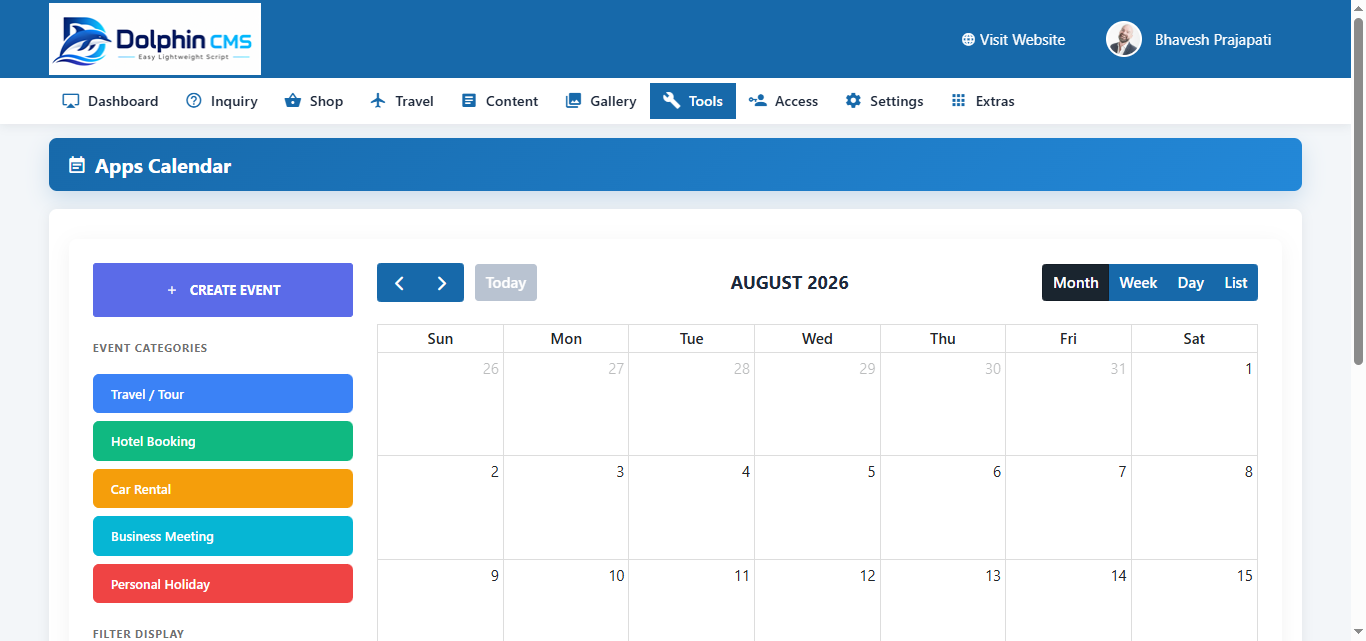
Dolphin CMS Admin Calendar admin screen
Admin Calendar in the admin panel
  • Open Tools > Calendar.
  • Choose the new-event control and enter the event title.
  • Set the start and end dates, category or color, and description.
  • Save the event and check its date on the calendar.
  • Select an event to edit or delete it.

Front-End Themes

Select the theme that controls the public site design.

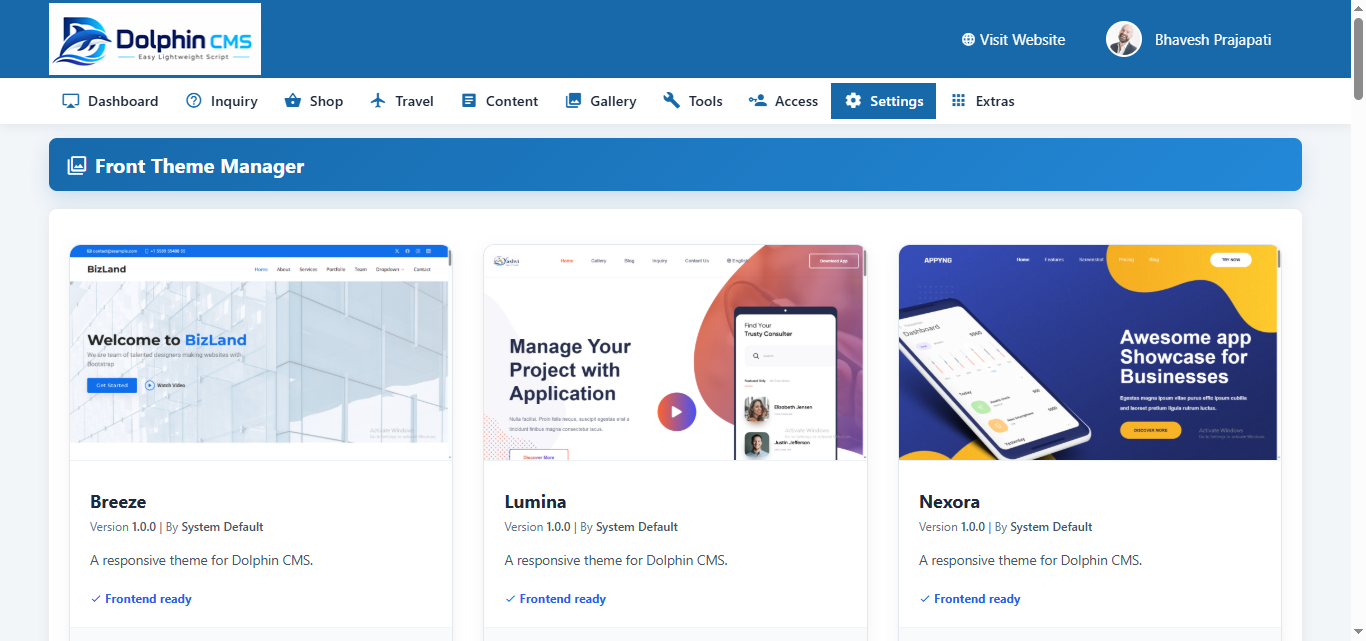
Dolphin CMS Front-End Themes admin screen
Front-End Themes in the admin panel
  • Open Settings > Front Theme.
  • Find a theme marked Frontend ready.
  • Choose Activate Theme for that theme.
  • Open the public site and review the pages after activation.

Preview-only themes cannot be activated until their required front-end files are present.

Database Backup

Create downloadable copies of the CMS database and restore them when needed.

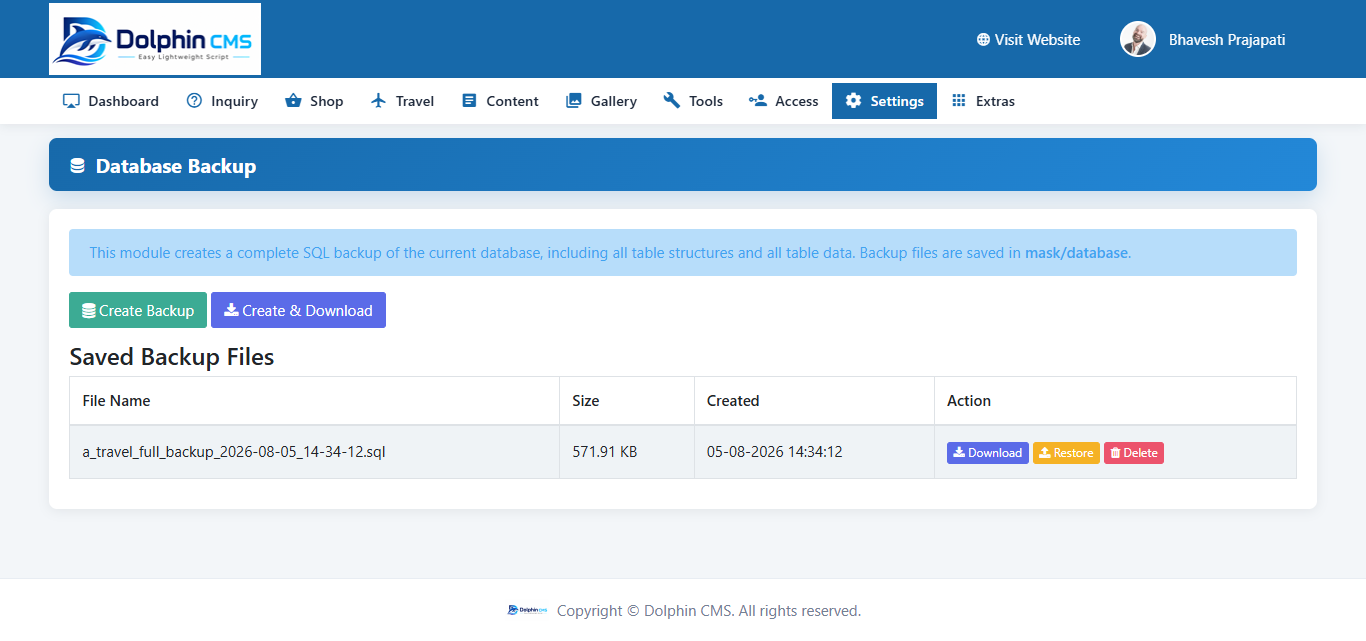
Dolphin CMS Database Backup admin screen
Database Backup in the admin panel
  • Open Settings > Database Backup.
  • Choose Create Backup to save an SQL backup on the server.
  • Choose Create & Download to create and download a copy.
  • Use Download beside a saved backup to get another copy.
  • Before restoring, create and download a fresh backup and confirm that you selected the intended file.

Restoring removes the current database tables and data before importing the selected backup.

Inquiry

Review and manage messages submitted through the website.

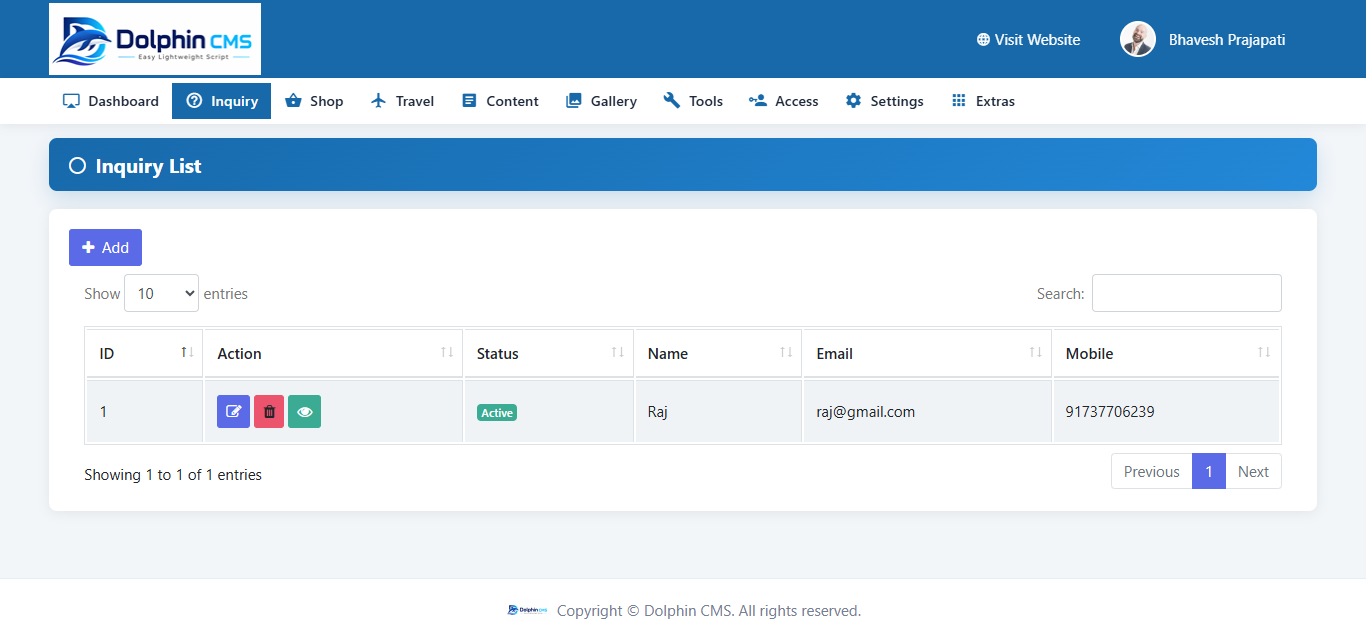
Dolphin CMS Inquiry admin screen
Inquiry in the admin panel
  • Open Inquiry in the admin sidebar.
  • Choose a record to review the submitted details and status.
  • Use Edit to update available fields or status.
  • Use Delete to remove an inquiry when it is no longer needed.

Export Inquiry

Check the current options for downloading inquiry records.

Dolphin CMS Export Inquiry admin screen
Export Inquiry in the admin panel
  • Open Inquiry in the admin sidebar.
  • The current inquiry list supports searching and paging through records.
  • There is no working CSV or export control on the current Inquiry page.

Inquiry export is not currently available in this CMS installation.

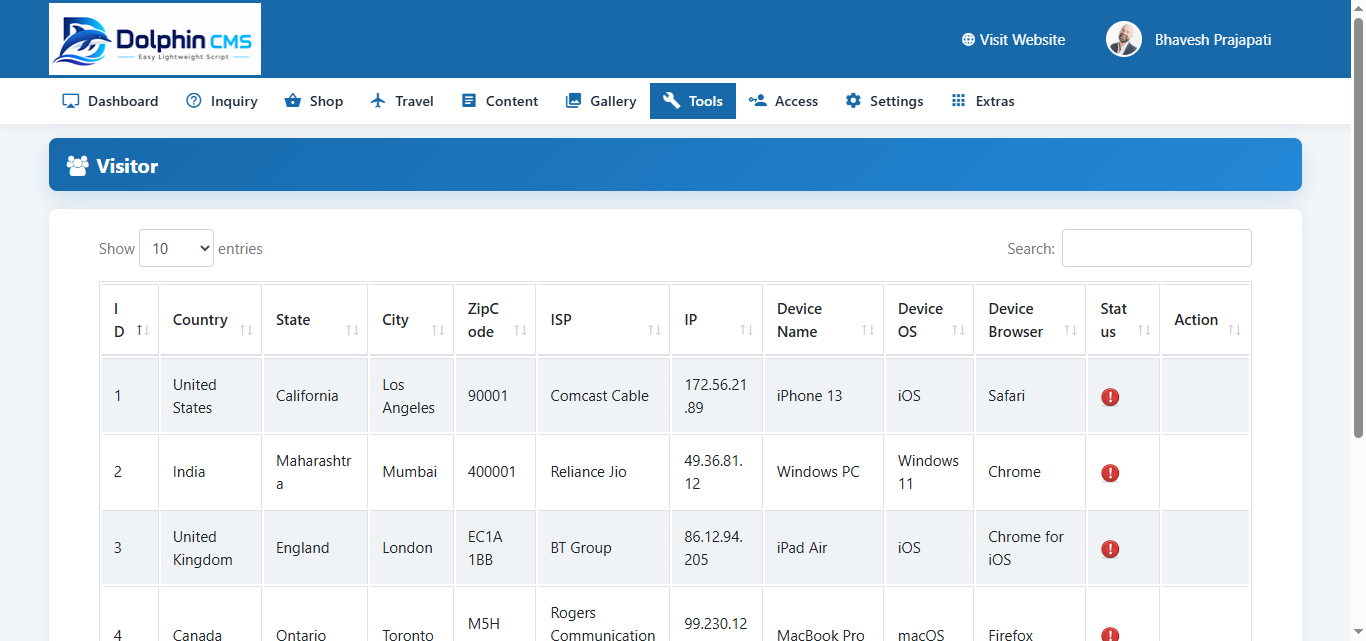
Website Visitors

Review visitor records captured by the site.

Dolphin CMS Website Visitors admin screen
Website Visitors in the admin panel
  • Open Tools > Visitor.
  • Review the visitor list for available location, IP address, device, and browser details.
  • Use the table search and paging controls to find records.

Some visitor details may not be available for every record.

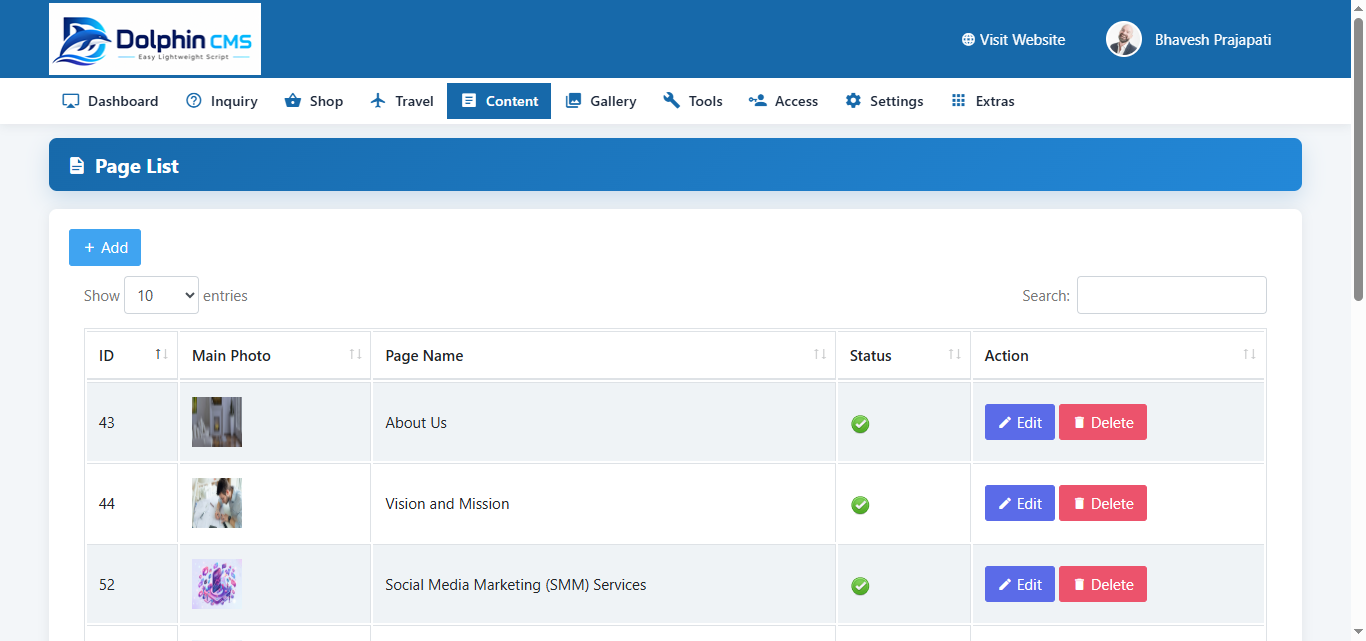
Create Pages And Set SEO Details

Build site pages with translated content, images, and search metadata.

Dolphin CMS Create Pages And Set SEO Details admin screen
Create Pages And Set SEO Details in the admin panel
  • Open Content > Page and choose Add.
  • Enter the page name and content for each active language.
  • Add the SEO title, keywords, description, and URL slug. Write a distinct title and a short description that matches the page.
  • Upload a main photo or additional page images if needed, and set the page status.
  • Choose Save, then check the page on the public site.

To update an existing page, find it under Content > Page and choose Edit. Use the Google View preview to review the search snippet fields.

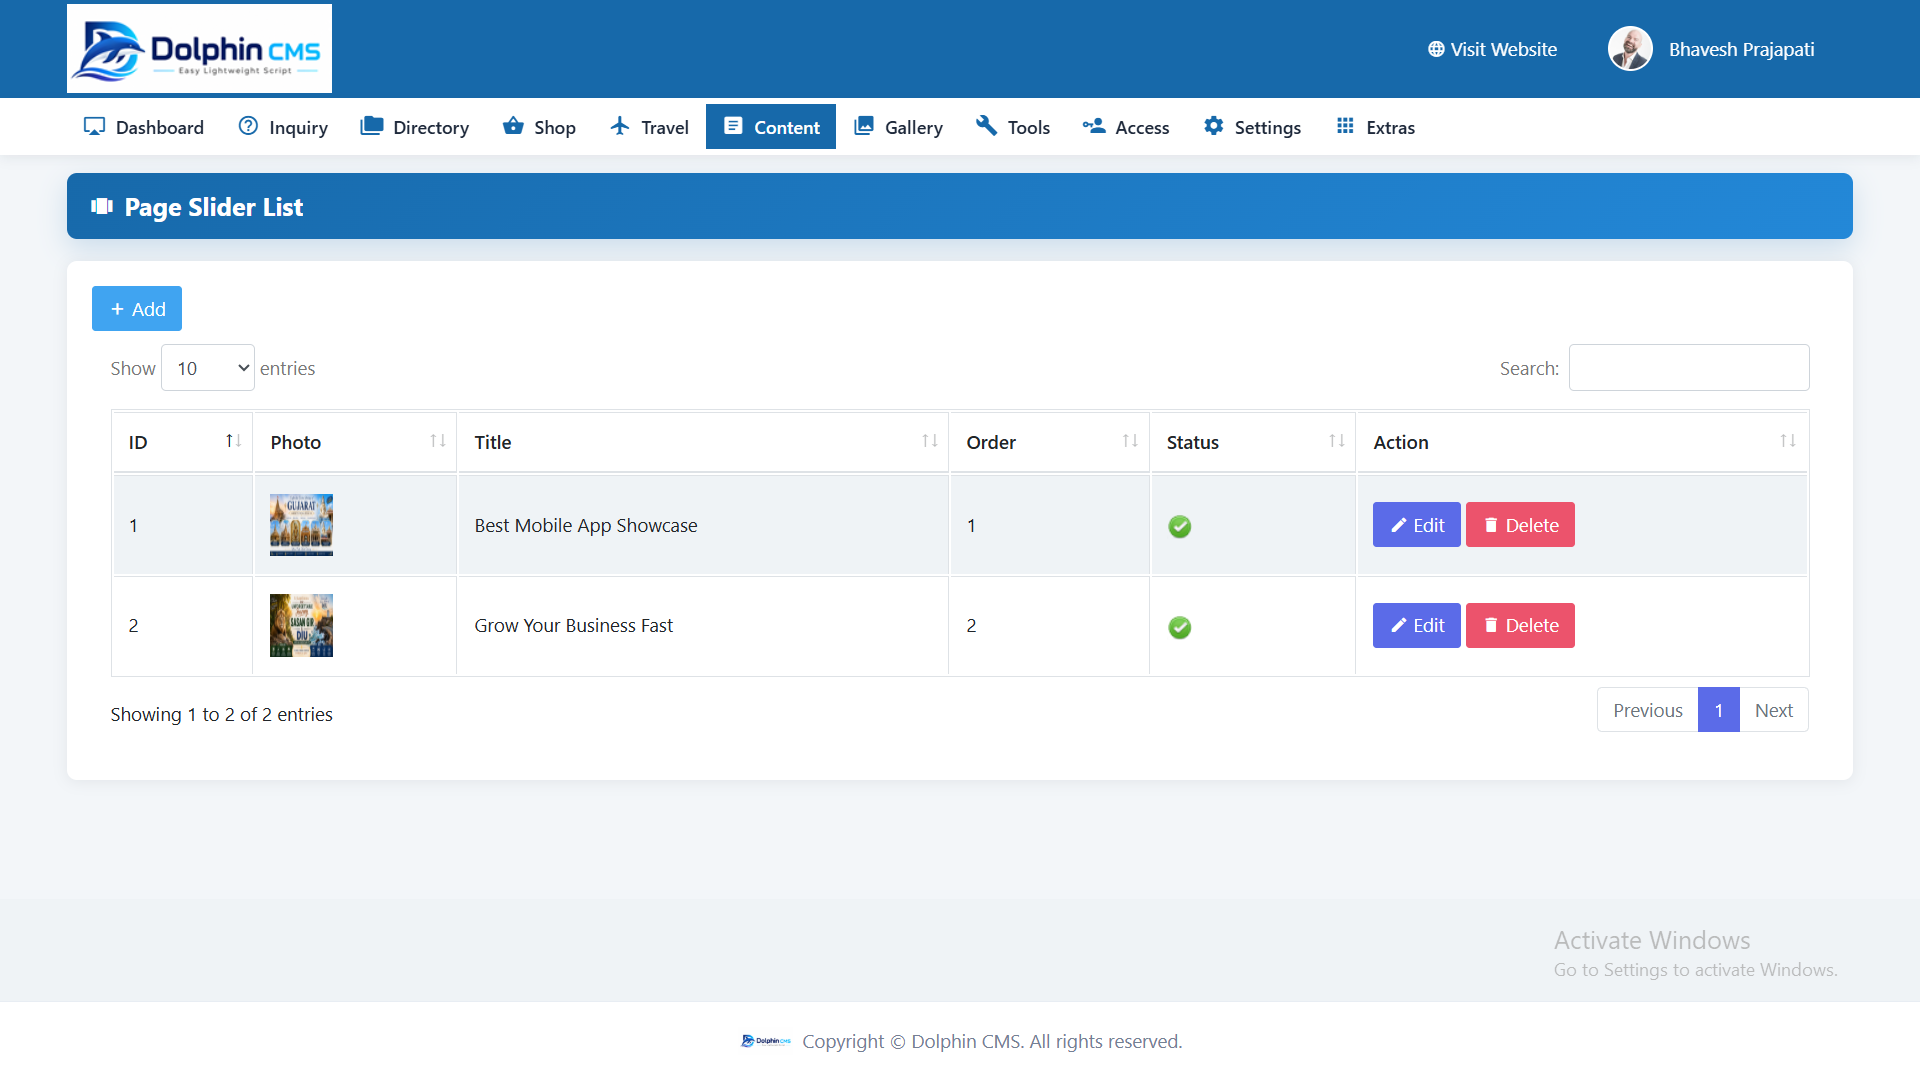
Home Page Slider

Add and arrange the slides shown on the homepage.

Dolphin CMS Home Page Slider admin screen
Home Page Slider in the admin panel
  • Open Content > Slider and choose Add.
  • Enter the slide title and details for active languages.
  • Set the order number and status.
  • Upload the slider photo and save.
  • To change a slide, edit that slide and save your updates.

Use the order field to control the position of each slide.

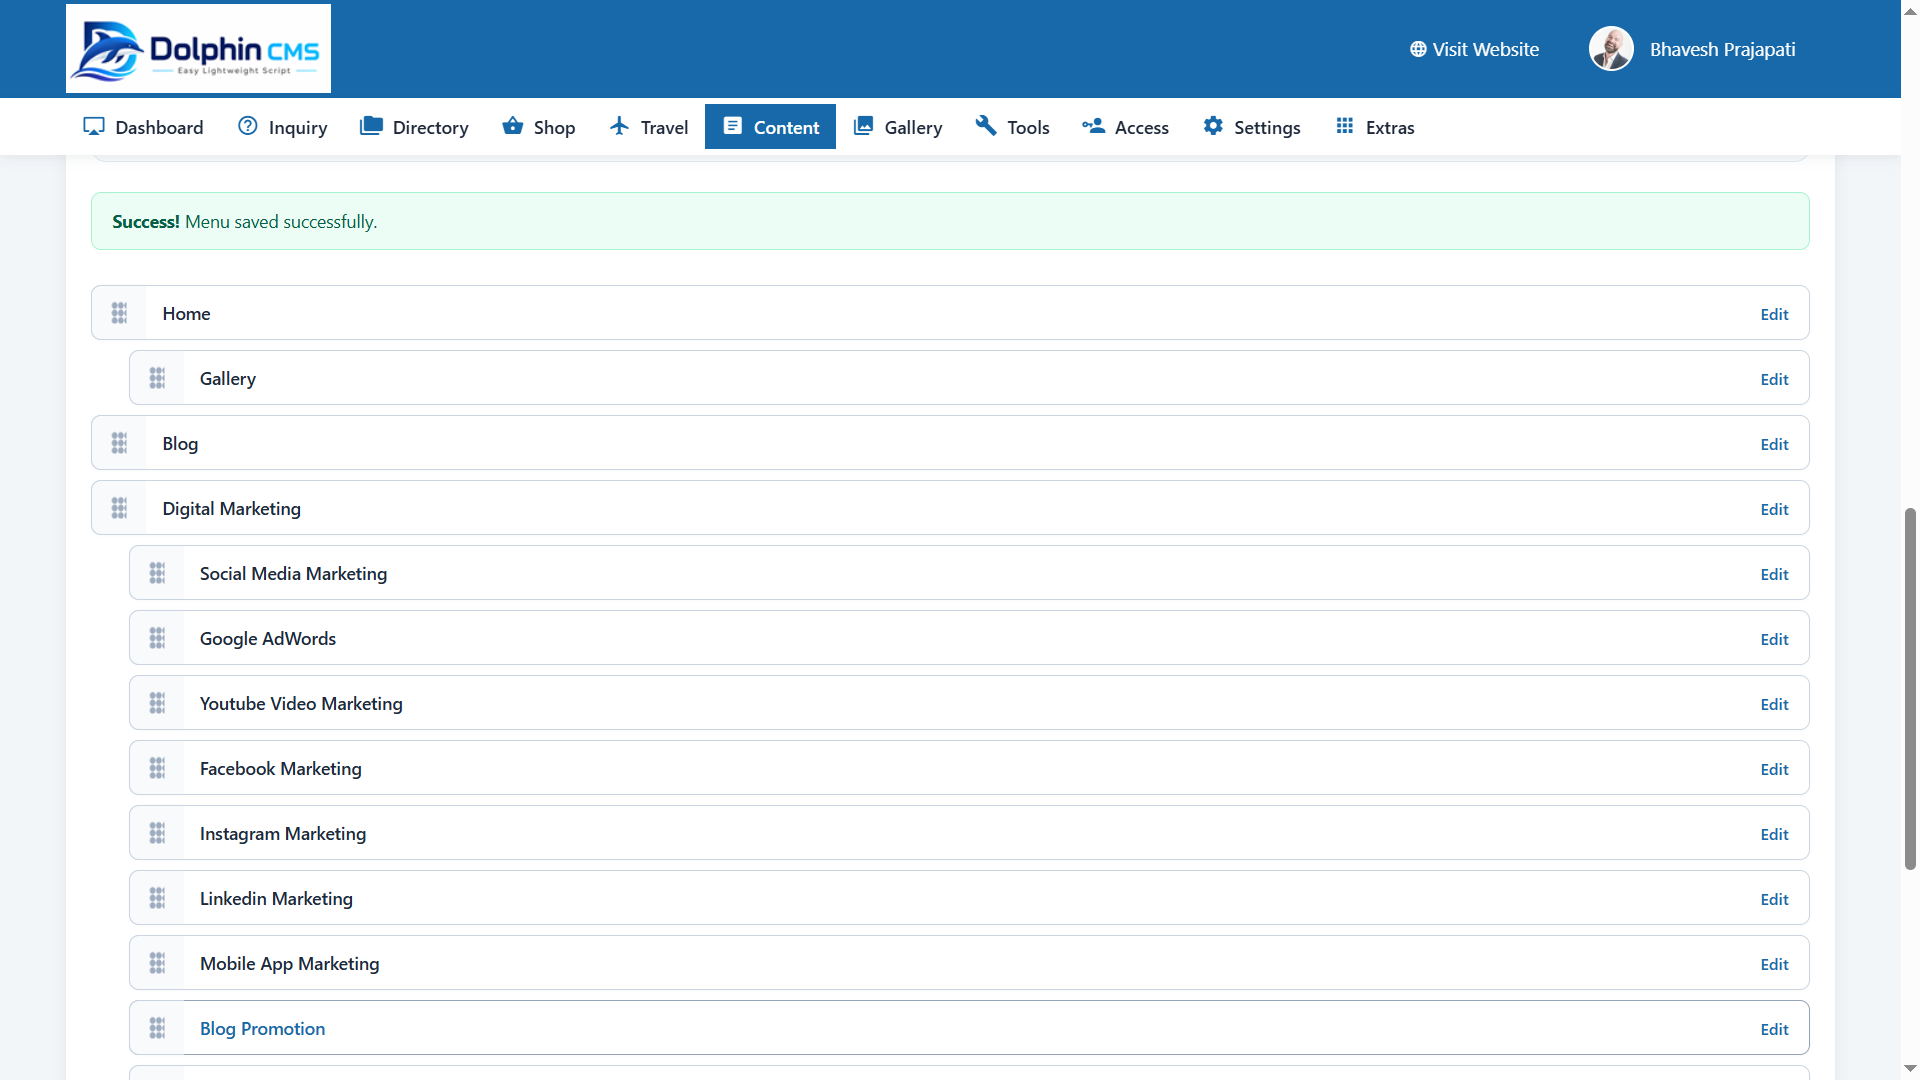
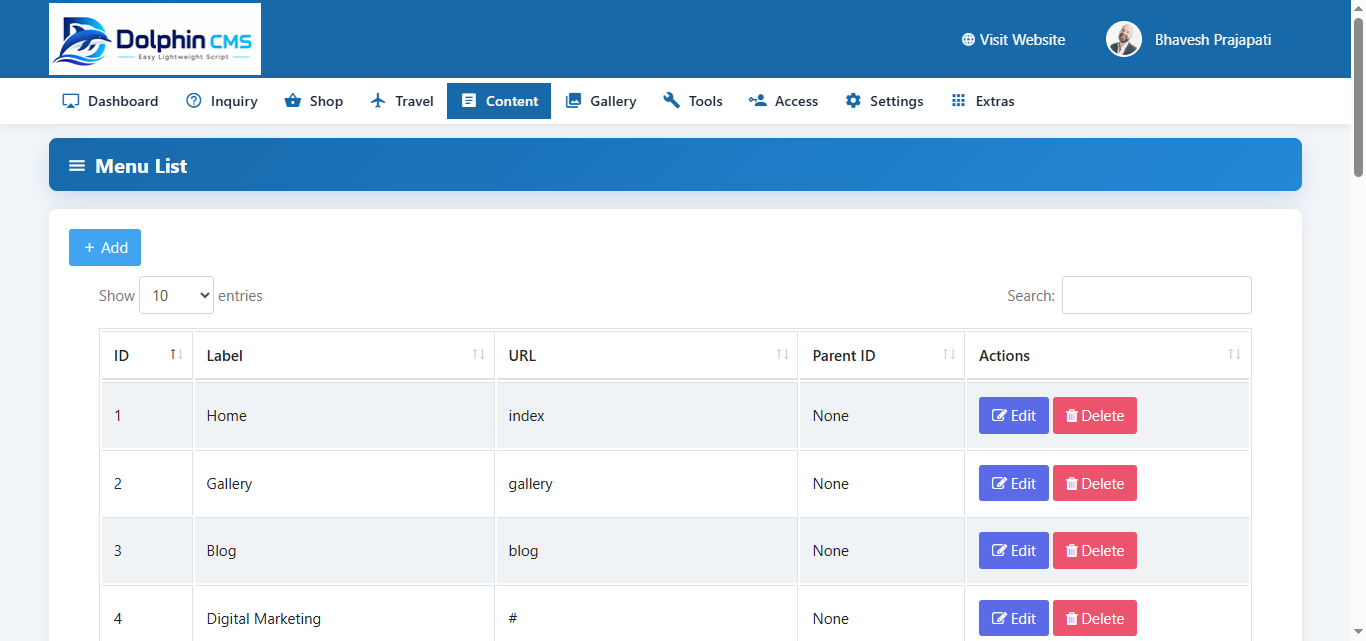
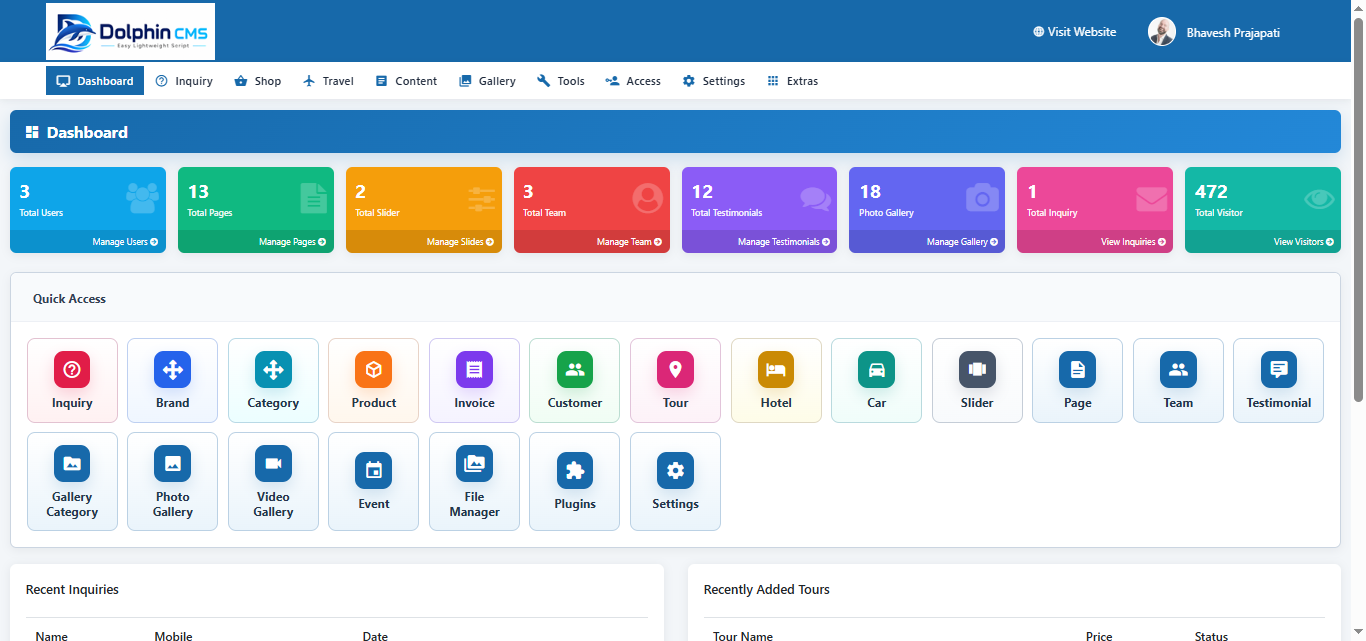
Find Your Way Around The Admin Panel

Use the dashboard and sidebar to reach the tools for your site.

Dolphin CMS Find Your Way Around The Admin Panel admin screen
Find Your Way Around The Admin Panel in the admin panel
  • Sign in to the admin panel. The dashboard provides a summary and shortcuts to common areas.
  • Use the sidebar groups such as Content, Extras, Settings, Tools, Access, Gallery, Shop, and Travel.
  • Open the relevant list screen to search, review, or manage records.
  • Choose Add to create a record or Edit beside an existing record to update it.
  • Save your changes, then view the public site to confirm the result.

Available sidebar items depend on the modules enabled for your installation.

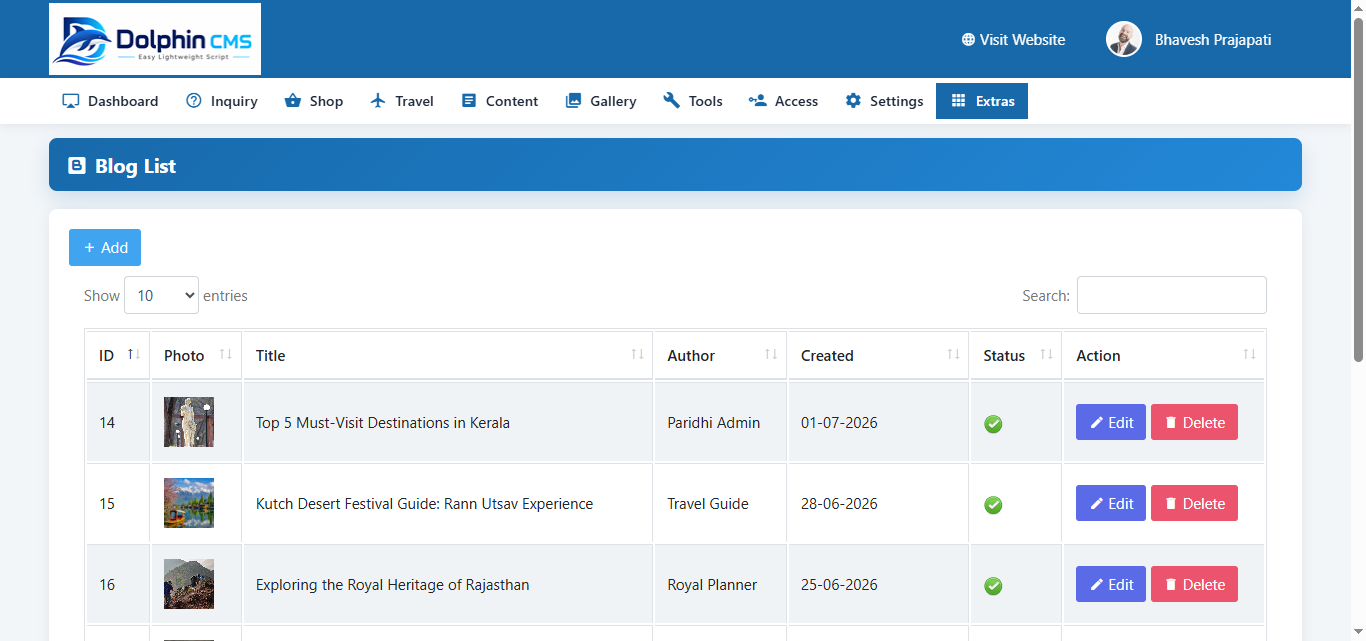
Blog Posts

Create and maintain blog articles and their search details.

Dolphin CMS Blog Posts admin screen
Blog Posts in the admin panel
  • Open Extras > Blog and choose Add.
  • Enter the title, author, and article content for active languages.
  • Complete the SEO title, keywords, description, and slug.
  • Upload the main photo if needed, set the status, and save.
  • To update a post, choose Edit beside it, make changes, and save.

Preview the post on the public site after saving.

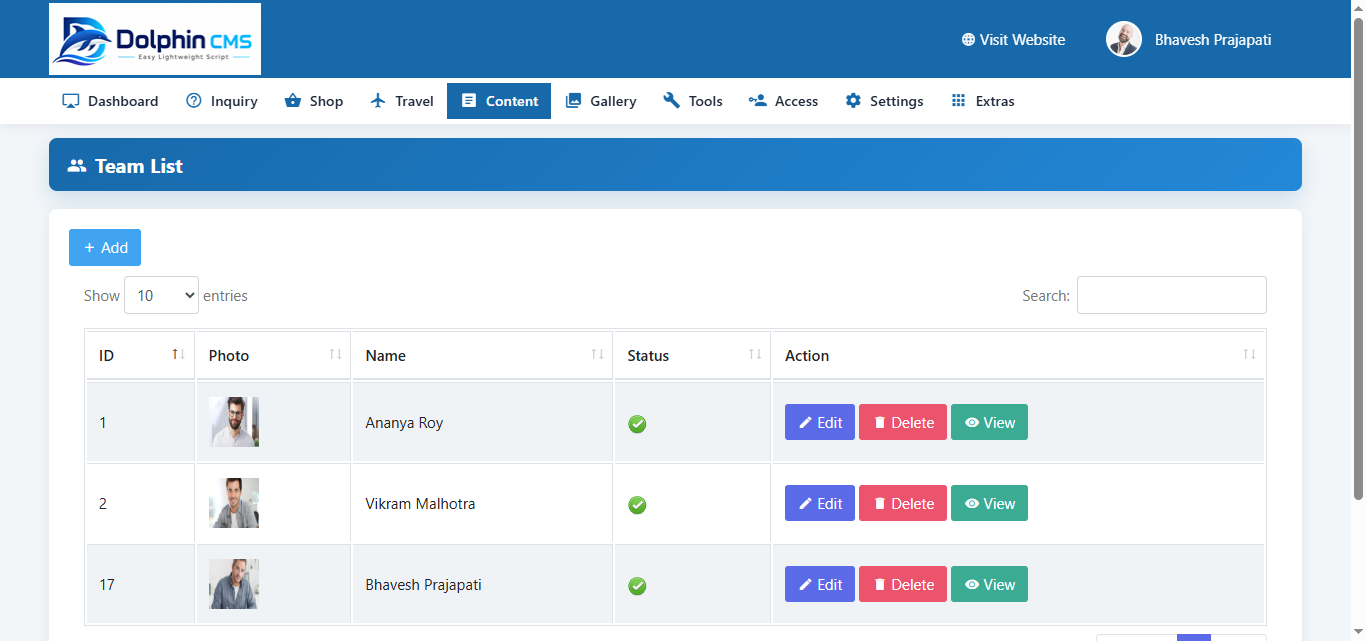
Team Members

Manage profiles displayed in the team section.

Dolphin CMS Team Members admin screen
Team Members in the admin panel
  • Open Content > Team and choose Add.
  • Enter the member’s name, position, and details in active languages.
  • Set the display order and status.
  • Upload a profile photo if the form provides one, then save.
  • Use Edit on the member record to update the profile later.

Check the team section on the public site after saving.

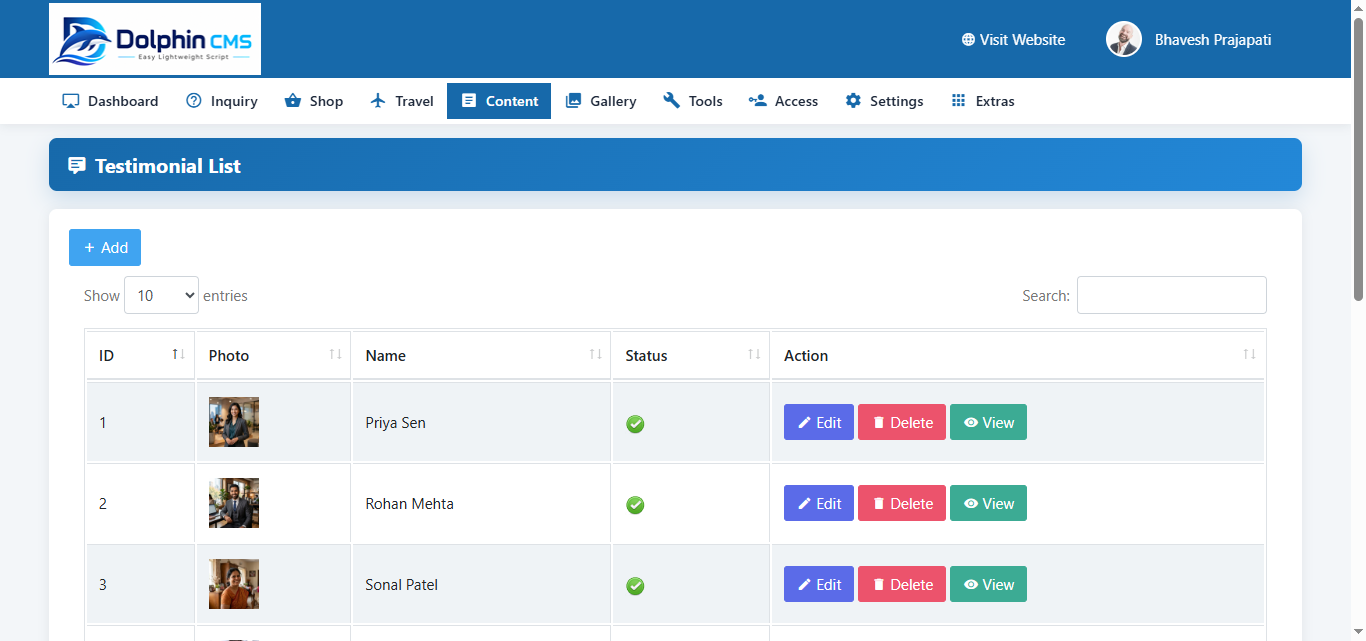
Testimonials

Add and update customer feedback shown on your site.

Dolphin CMS Testimonials admin screen
Testimonials in the admin panel
  • Open Content > Testimonial and choose Add.
  • Enter the testimonial and customer details requested by the form.
  • Add an optional customer photo or location if those fields are available.
  • Save the testimonial and review it on the public site.
  • Use Edit or Delete from the testimonial list to manage an existing entry.

Job Listings

Publish and maintain job vacancies.

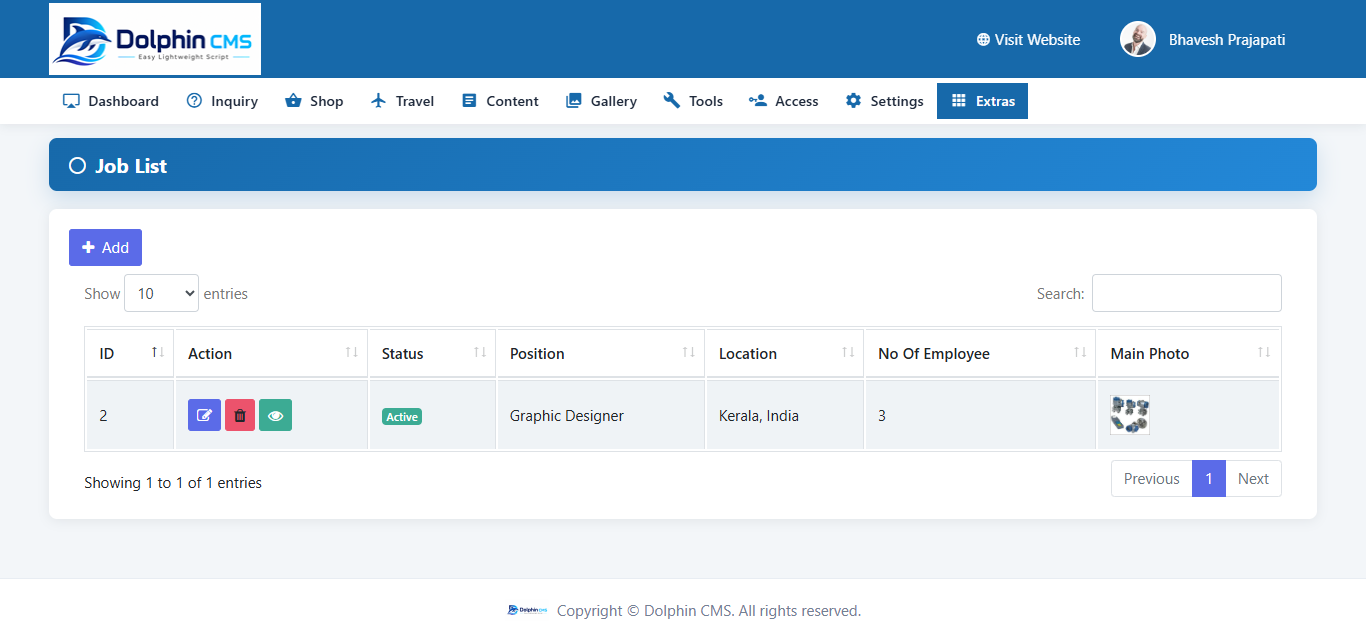
Dolphin CMS Job Listings admin screen
Job Listings in the admin panel
  • Open Extras > Job and choose Add.
  • Enter the role, location, employee count, description, skills, education, and experience.
  • Complete available language and SEO fields.
  • Set the status and save the listing.
  • To update a vacancy, choose Edit beside it and save the changes.

Job Applications

Review candidate submissions and update their status.

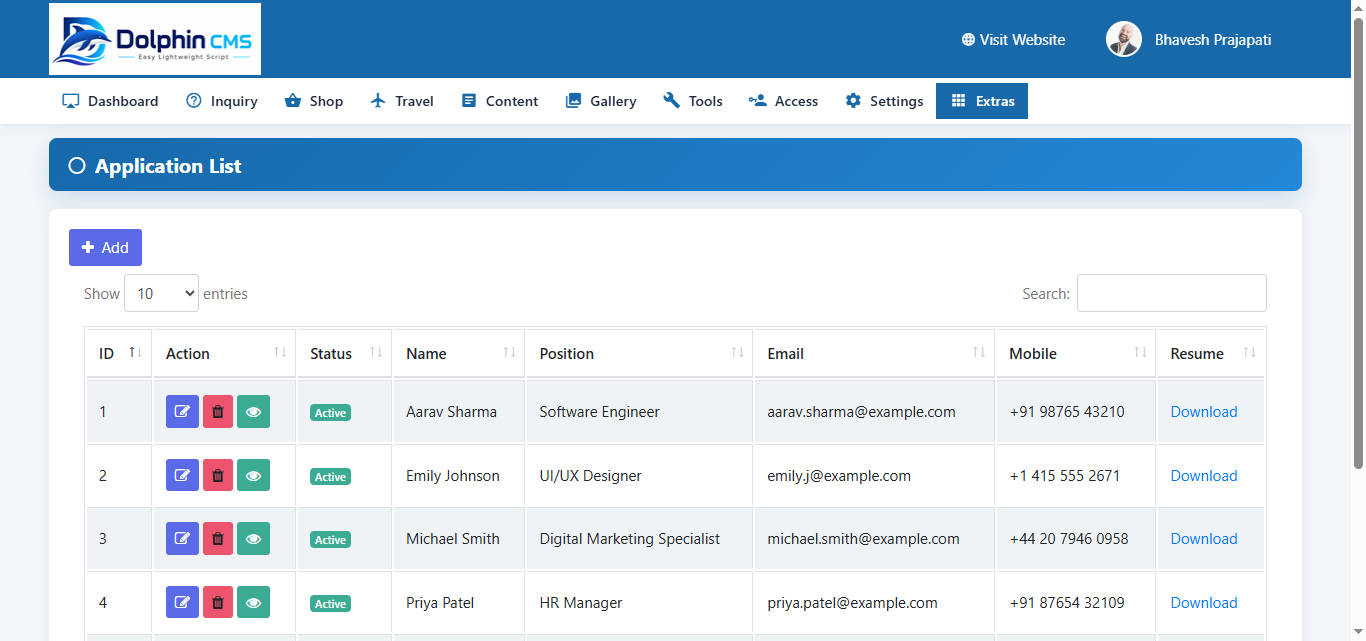
Dolphin CMS Job Applications admin screen
Job Applications in the admin panel
  • Open Extras > Application to view submitted candidates.
  • Open an application to review the candidate details, message, resume, and related job.
  • Choose Edit to update available details or status, then save.
  • Delete an application from its row only when it is no longer needed.

Check the candidate and related job before changing or deleting a record.

Images On Pages

Upload, replace, and remove page images.

Dolphin CMS Images On Pages admin screen
Images On Pages in the admin panel
  • Open Content > Page and edit the page.
  • Choose a file in Photo 1, Photo 2, or Main Photo and wait for the upload to finish.
  • Save the page and confirm the new image appears on the site.
  • To remove an image, use its Remove Image button and save.

Use appropriately sized images so pages load quickly.

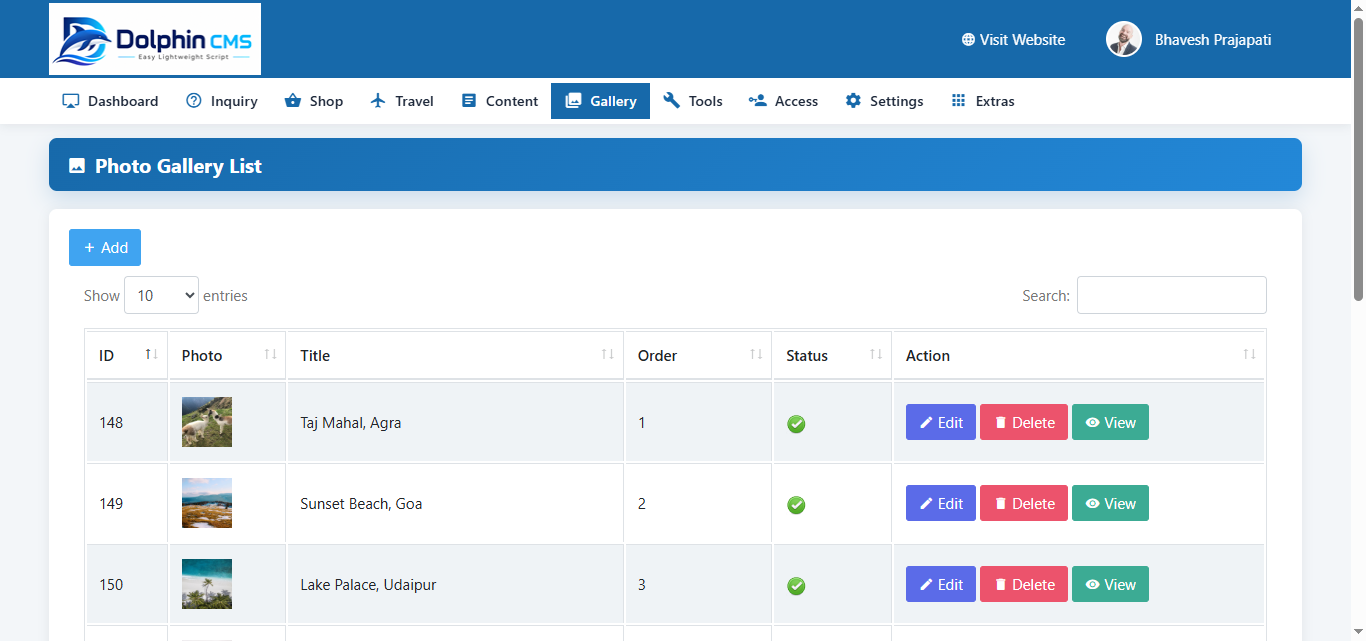
Gallery Events

Create an event entry for the Events gallery.

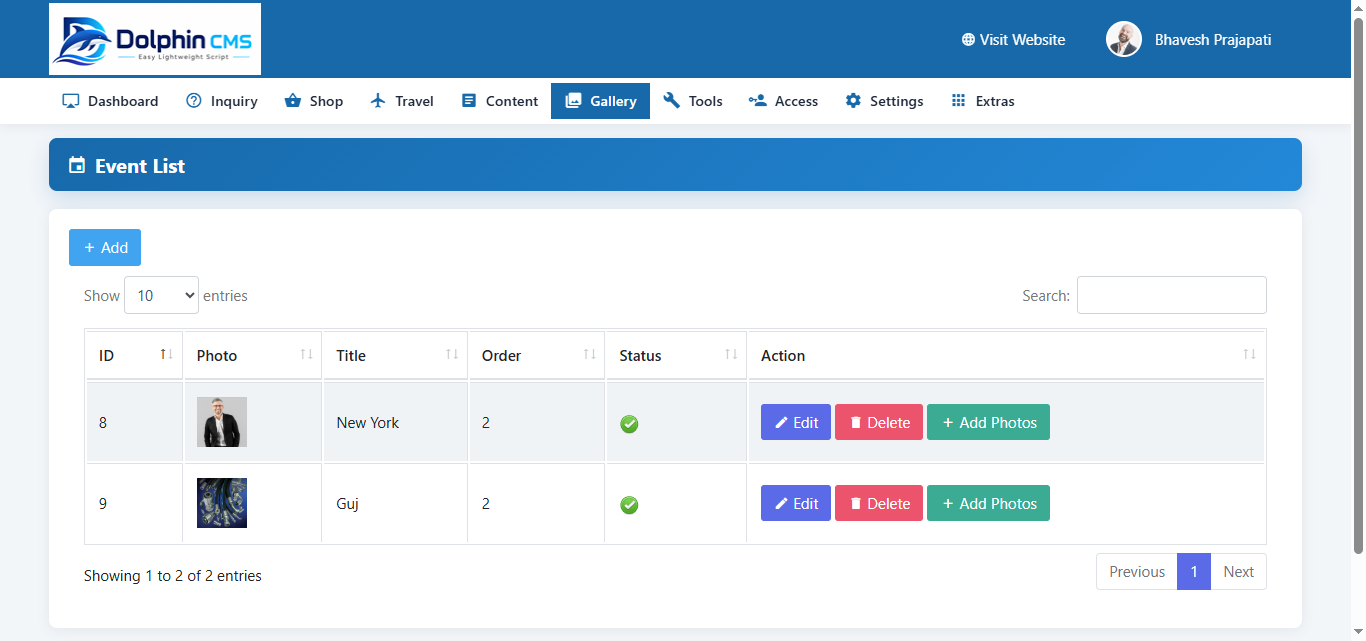
Dolphin CMS Gallery Events admin screen
Gallery Events in the admin panel
  • Open Gallery > Event and choose Add.
  • Enter the event title and details.
  • Upload an optional event photo, set the order and status, and save.
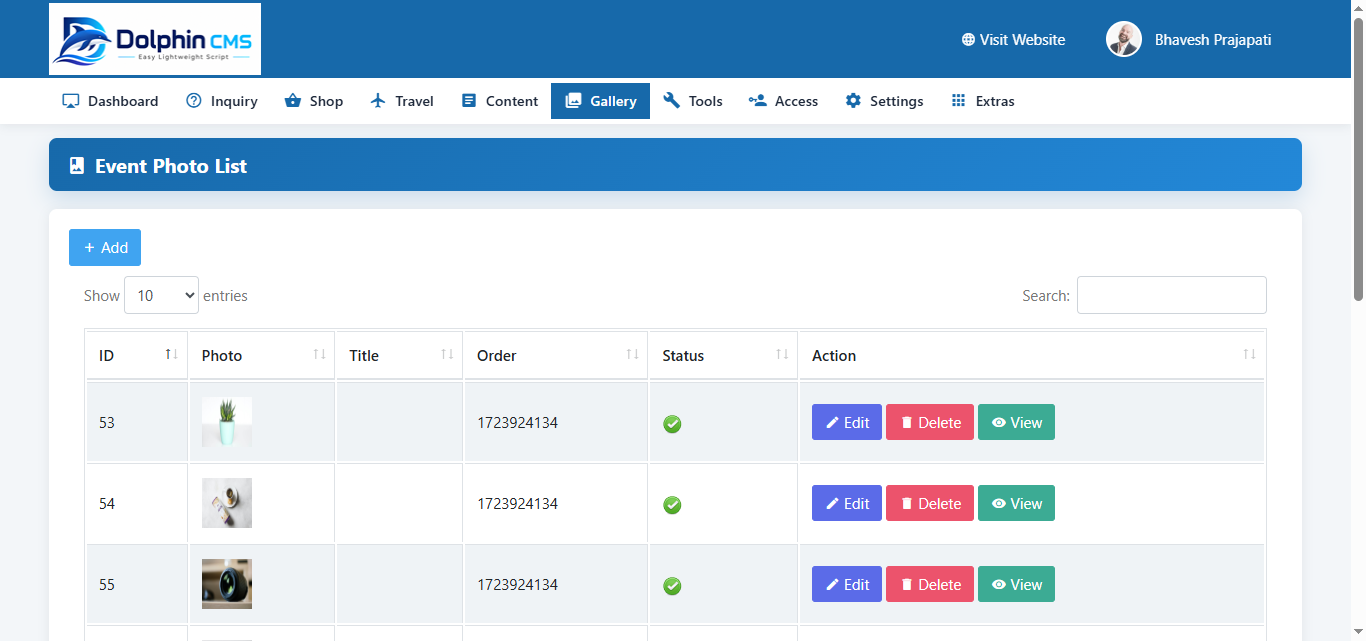
  • Edit or delete an event from its row in the Event list.

These are gallery event entries. Calendar appointments are managed under Tools > Calendar.

Shop Brands

Manage the brands available to shop products.

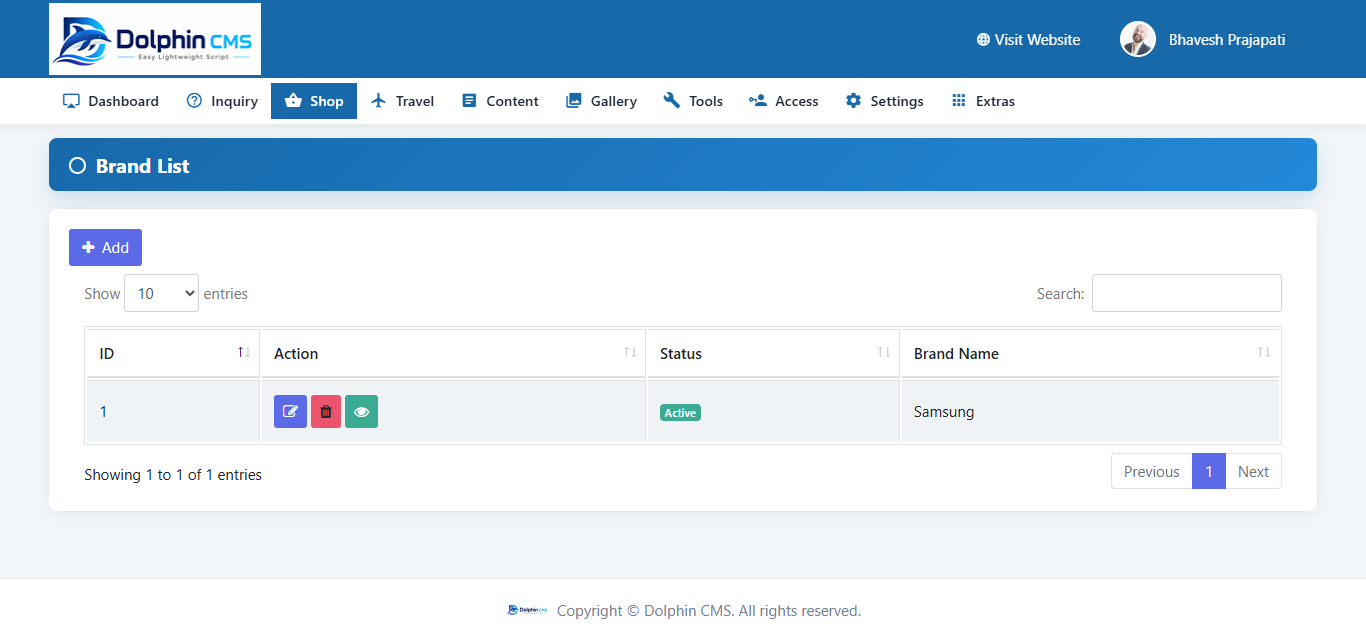
Dolphin CMS Shop Brands admin screen
Shop Brands in the admin panel
  • Open Shop > Brand and choose Add.
  • Enter the brand name and upload an optional image.
  • Choose Active or Inactive and save.
  • Use Edit to update a brand. Check product use before deleting one.

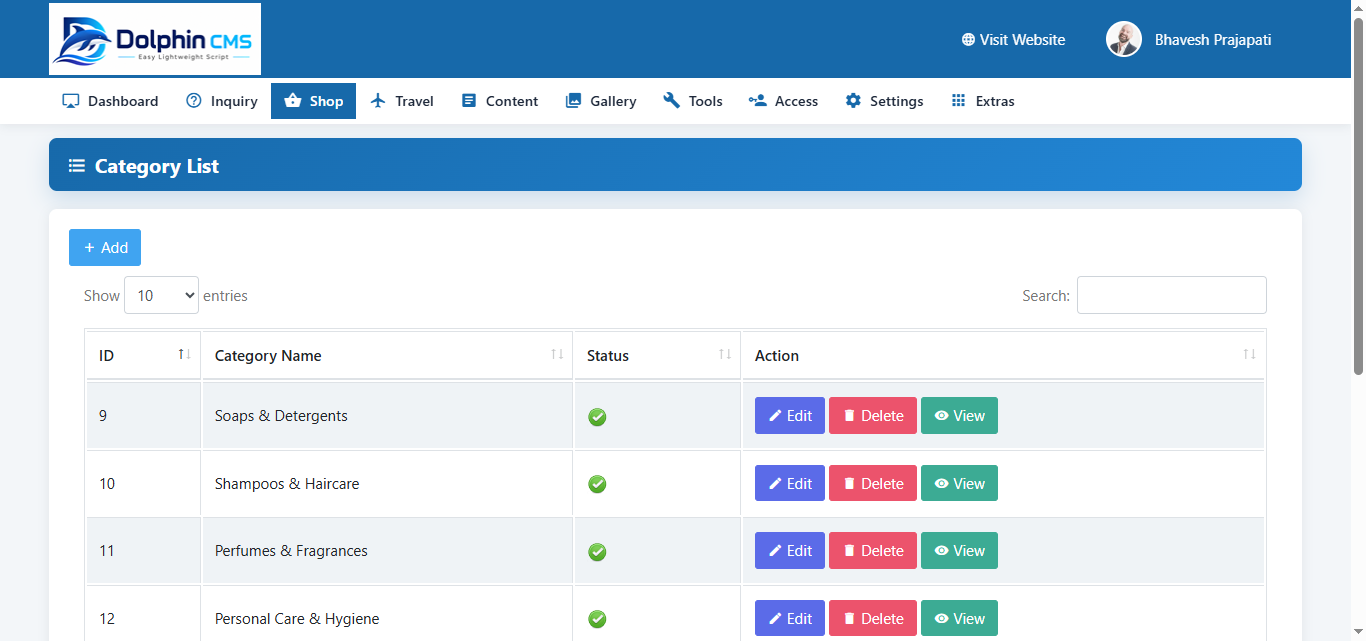
Shop Categories

Create categories to organize products.

Dolphin CMS Shop Categories admin screen
Shop Categories in the admin panel
  • Open Shop > Category and choose Add.
  • Enter a category name, set its status, and save.
  • Select the category when creating or editing a product.
  • Check the products assigned to a category before deleting it.

Shop Products

Add products and maintain their details, prices, and photos.

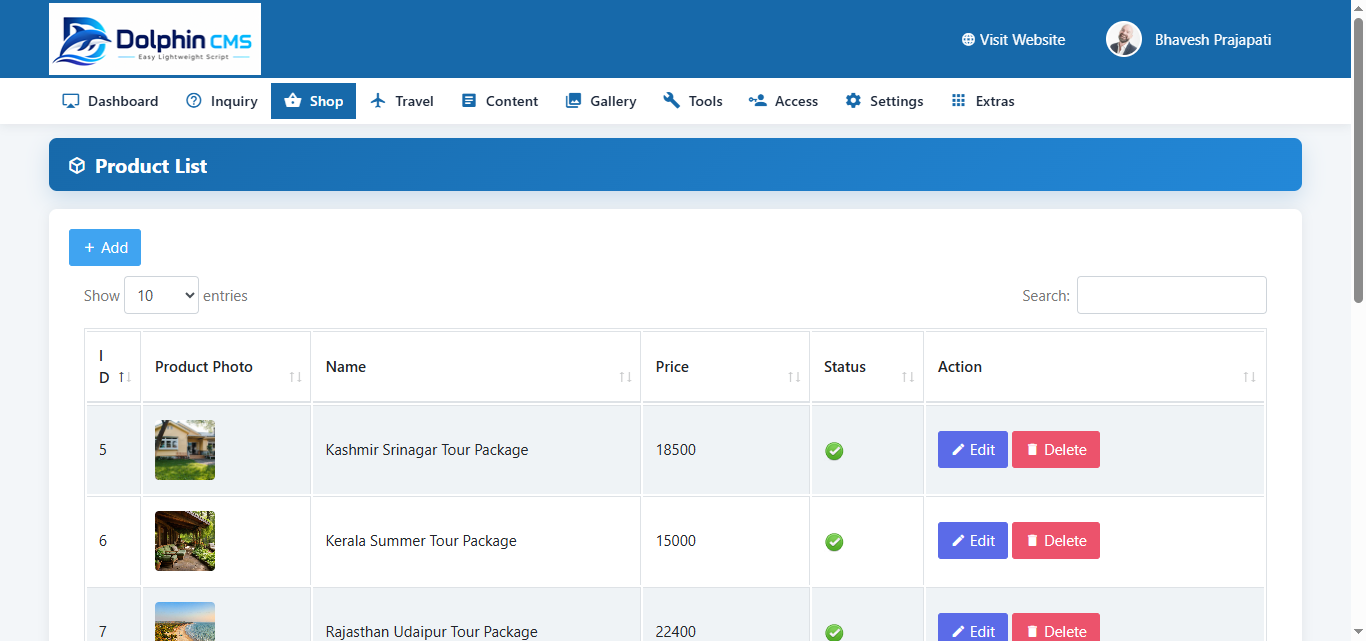
Dolphin CMS Shop Products admin screen
Shop Products in the admin panel
  • Open Shop > Product and choose Add.
  • Enter the product name and details for active languages.
  • Choose a category or brand if available, then enter price and status.
  • Upload the product photo and any gallery photos.
  • Save and check the product listing on the public site.

Create the brand and category first if the product needs them.

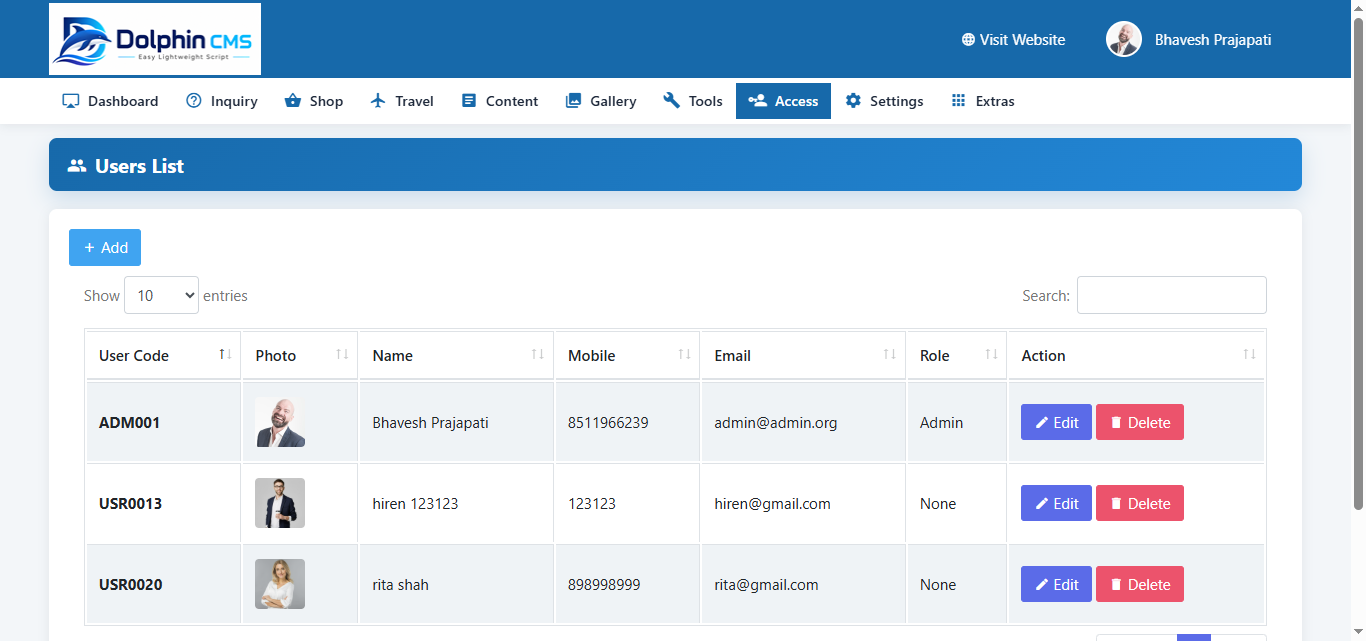
Admin Users

Create and maintain accounts for people who manage the site.

Dolphin CMS Admin Users admin screen
Admin Users in the admin panel
  • Open Access > Users and choose Add.
  • Enter a username, password, name, and contact details.
  • Assign an appropriate role and status, then save.
  • To update an account, choose Edit beside it, make the changes, and save.
  • Before deleting an account, make sure another administrator account remains available.

Give each person their own account.

Directory Categories

Create and maintain categories for business listings.

Dolphin CMS Directory Categories admin screen
Directory Categories in the admin panel
  • Open Directory > Category and choose Add.
  • Enter the category name and description.
  • Set its status and save.
  • Edit a category from its list when its details need to change.

Check which listings use a category before deleting it.

Directory Listings

Add and maintain businesses shown in the directory.

  • Create a directory category first if the listing needs one.
  • Open Directory > List and choose Add Listing.
  • Enter the business name, category, description, contact name, phone, email, website, address, and status.
  • Choose Save Listing.
  • Choose Edit beside a listing to update it.

Check the business details on the public directory after saving.

Shop Invoices

Create and maintain customer invoices.

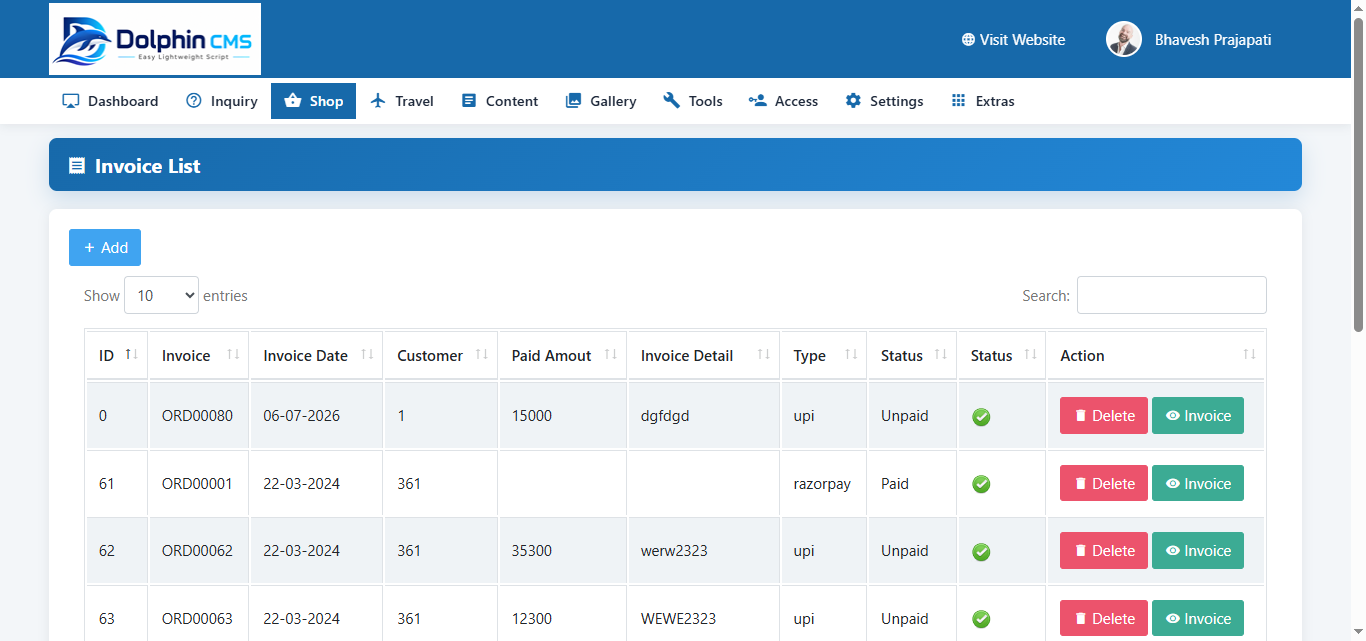
Dolphin CMS Shop Invoices admin screen
Shop Invoices in the admin panel
  • Open Shop > Invoice and choose Add.
  • Select a customer and enter the invoice number and date.
  • Add products and quantities, then review totals, tax, and payment details.
  • Save the invoice and review the saved record.
  • Use Edit or Delete from the invoice list to manage it.

Keep a copy if the invoice is needed for accounting records.

Shop Customers

Maintain the customer records used by the shop.

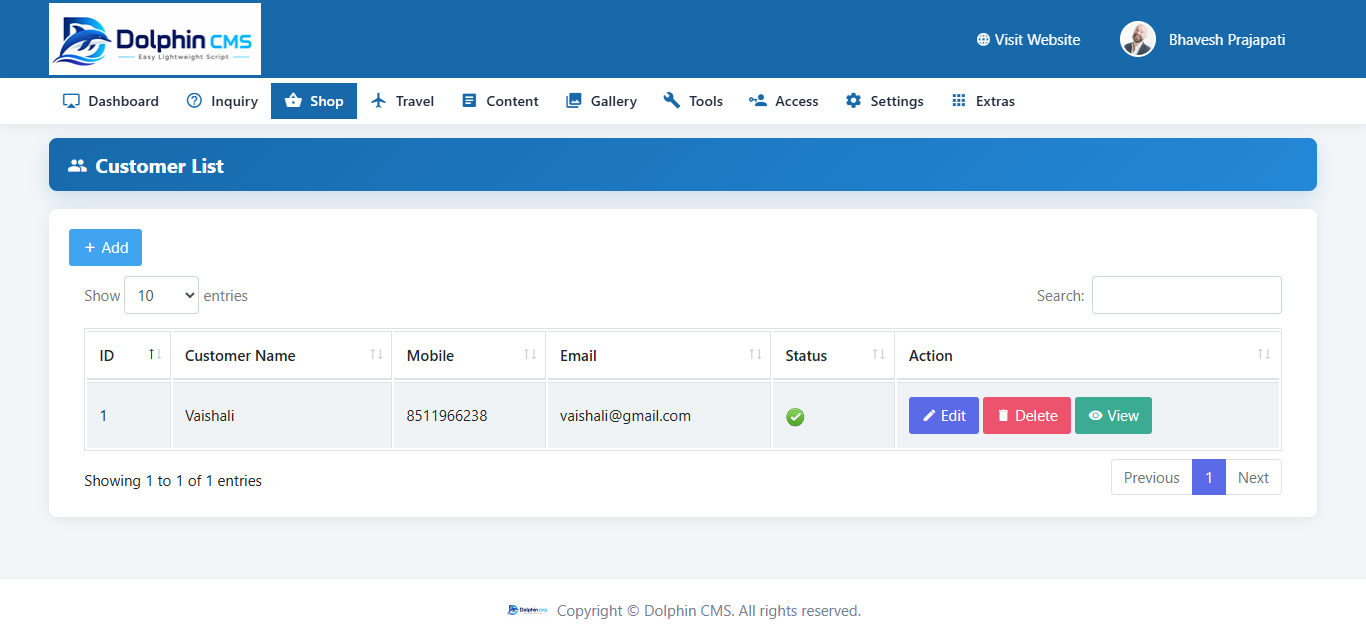
Dolphin CMS Shop Customers admin screen
Shop Customers in the admin panel
  • Open Shop > Customer and choose Add.
  • Enter the customer details requested by the form, such as name and contact information.
  • Save the customer record.
  • Choose Edit beside a customer to update their contact details.

Check associated invoices before deleting a customer.

Travel Tours

Publish and update tour listings.

  • Open Travel > Tour and choose Add.
  • Enter the tour name, type, location, duration, and price.
  • Add descriptions, inclusions, exclusions, and cancellation details for active languages.
  • Complete SEO fields, upload photos, set status, and save.
  • Use Edit on a tour record to update it.

Travel Hotels

Create and maintain hotel listings.

  • Open Travel > Hotel and choose Add.
  • Enter the hotel name, location, price, rating, and description.
  • Complete available SEO fields and upload a main photo.
  • Set the status and save the hotel.
  • Use Edit on a hotel record to update it.

Travel Cars

Add and maintain vehicle listings in the Travel module.

  • Open Travel > Car and choose Add.
  • Enter the car name, type, transmission, description, price, and order.
  • Complete available SEO fields and upload the main photo.
  • Set status and save the listing.
  • Use Edit to update a travel car listing.
KEEP LEARNING

Looking for one specific answer?

Search the FAQ for quick answers to individual CMS questions.

Visit the FAQ